ESSENTIAL NOTICE — PLEASE READ BEFORE PROCEEDING: This website provides educational resources and informational content about woodworking techniques, workshop setup, and timber sourcing. It is not professional guidance , and nothing here replaces consultation with experienced craftspeople, local safety authorities, or qualified suppliers. Always verify project suitability for your skill level and workshop conditions, and consult professionals regarding safety, structural integrity, or regulatory compliance in your jurisdiction.
morgenfeld Logo morgenfeld Contact Us
Menu
Contact Us
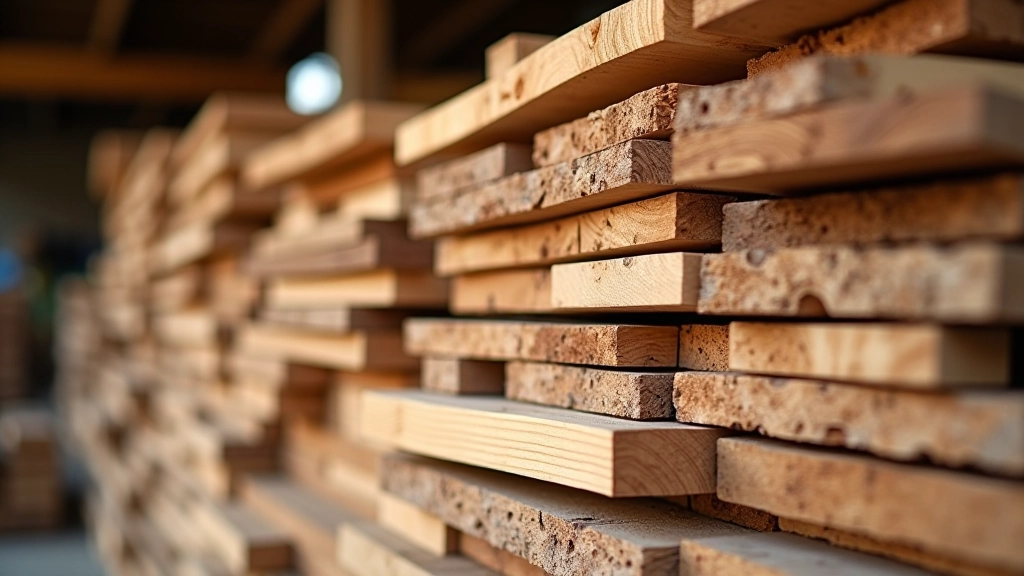
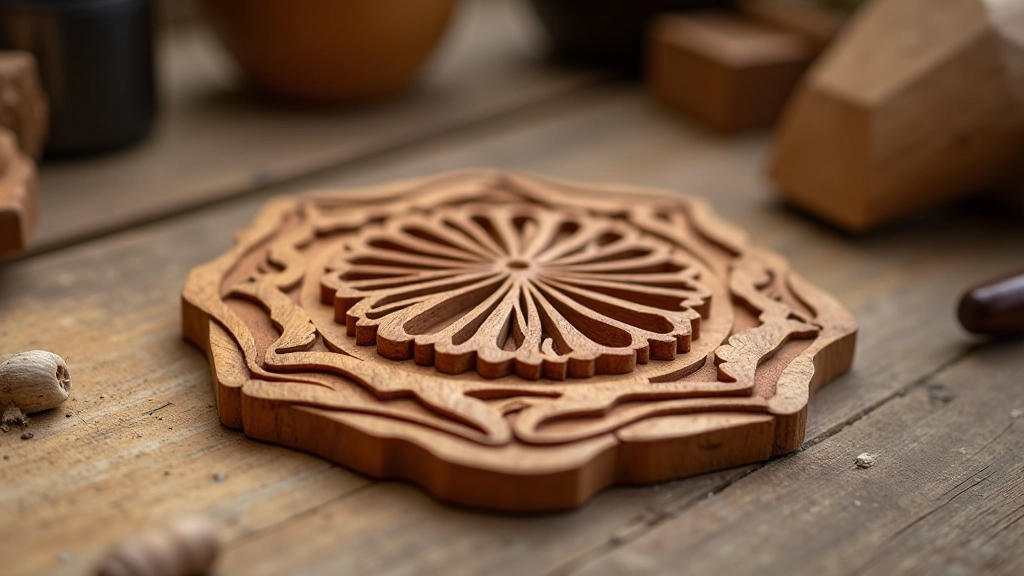
Traditional Latvian carved wooden ornament with intricate geometric patterns and fine detail

Traditional Latvian Wood Carving Techniques

12 min read Intermediate April 2026

Wood carving's been part of Latvia's heritage for centuries. It's not just about cutting wood — it's a conversation between your hands, the material, and generations of technique passed down through families. We'll walk you through the patterns, tools, and methods that make Latvian carving distinctive.

Whether you're starting with spoon carving or moving toward architectural elements, understanding these traditional approaches gives your work authenticity. The patterns you'll create aren't random — they carry meaning and follow geometric logic that's rooted in Baltic design.

Understanding Latvian Pattern Tradition

Latvian wood carving patterns aren't decorative whims — they're systematic. The geometric designs you'll see in traditional pieces follow specific logic: triangles, diamonds, concentric circles, and interlocking lines that repeat in predictable ways. This isn't accidental. These patterns developed over centuries in rural communities where carvers worked without written instructions, passing knowledge through observation and practice.

The most common pattern families include the "saules zīme" (sun symbol), various star formations, and wave patterns inspired by water and nature. You'll recognize them once you start looking — they appear on everything from traditional jewelry boxes to door frames in older Latvian farmhouses. The key insight? These patterns work because they follow mathematical principles. Symmetry, repetition, and proportion aren't just beautiful — they're structurally sound.

Three Core Pattern Categories

  • Geometric patterns (diamonds, stars, grids) — most forgiving for beginners
  • Organic patterns (leaves, vines, waves) — requires more tool control
  • Combined patterns (mixing geometric with organic elements) — advanced integration

Essential Hand Tool Techniques

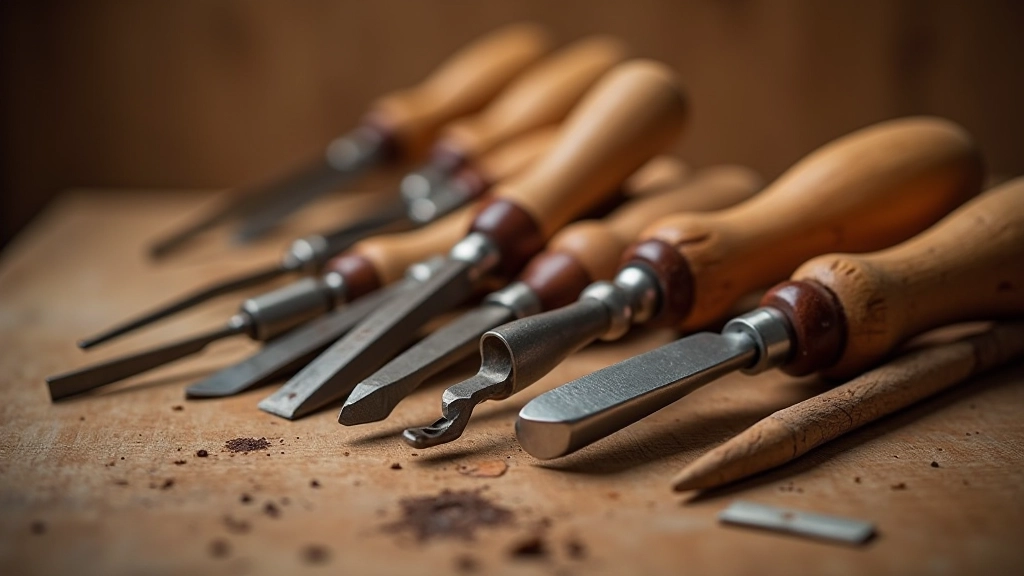
Here's what separates traditional Latvian carving from just hacking at wood: controlled hand movements with the right tools. You're not using power tools here. The traditional approach relies on chisels, gouges, and knives — and more importantly, knowing exactly how to use them. Most Latvian carvers work with three main tool types: straight chisels for outlines and flat surfaces, V-tools (also called V-gouges) for creating clean lines and detail work, and curved gouges for rounded cuts and relief carving.

The grip matters. A lot. Traditional carvers hold their tools differently than woodworkers might expect. You're not gripping like you're holding a hammer. Instead, you're controlling the chisel with your fingers while using your palm or the side of your hand for leverage. The non-carving hand isn't idle either — it's stabilizing the wood, controlling the cut, and protecting itself. Never position your hands so a slip sends the tool toward your fingers.
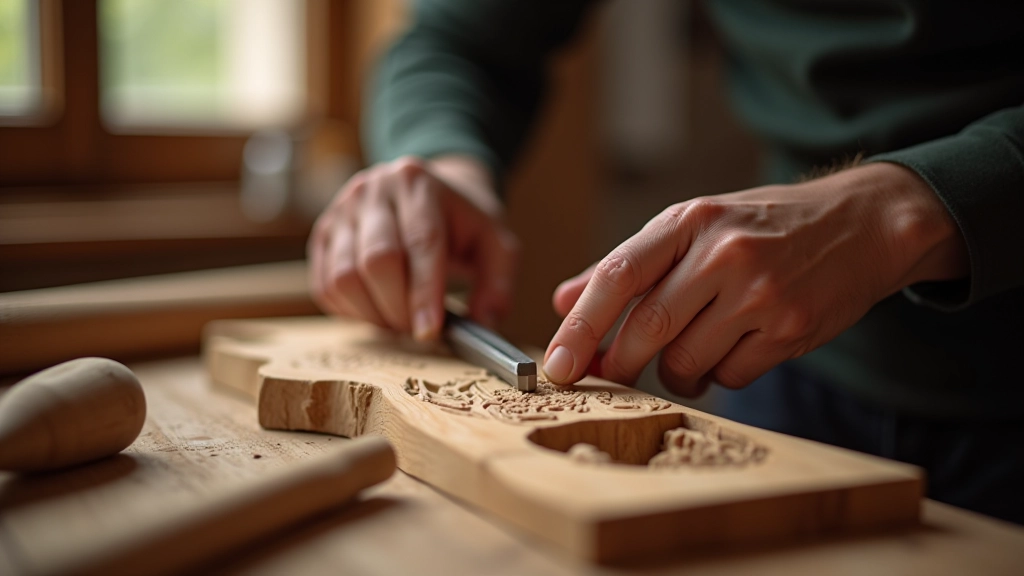
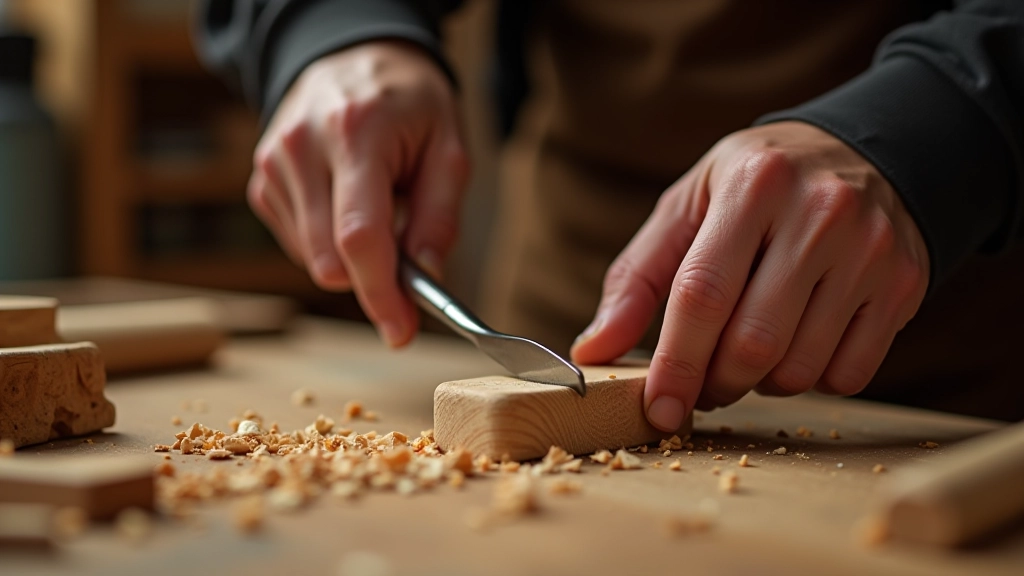
Close-up of hands working on wood with traditional carving chisels and gouges, showing proper grip and control technique

Wood Selection and Preparation

Not all wood carves the same. Traditional Latvian carvers favored specific woods for good reason. Linden (also called lime wood) is the gold standard — it's soft enough to carve cleanly but hard enough to hold fine detail. Birch works well too, especially for larger pieces. Pine's softer but more prone to splintering if your tools aren't sharp. Oak? It's dense and beautiful but requires serious tool sharpness and can frustrate beginners.

Before you start carving, the wood needs preparation. You're not carving wet wood fresh from the tree. Most traditional pieces are carved from wood that's been seasoned — dried slowly over months. This reduces movement and checking (cracking) during and after carving. If you're sourcing locally, ask about wood that's been drying for at least 6-12 months. The grain direction matters too. Carving across the grain creates tearout and splintering. Carving with the grain (or at least not directly against it) gives you clean cuts.

Educational Note

This guide covers traditional techniques for hobby and learning purposes. Carving involves sharp tools and requires focus and proper safety practices. Always carve in well-lit areas, keep your non-carving hand behind the tool's direction of travel, and take breaks when fatigued. Wood dust can accumulate — carve in ventilated spaces. These techniques are based on documented historical methods, though individual results vary based on experience, wood quality, and tool condition.

Developing Your Personal Style Within Tradition

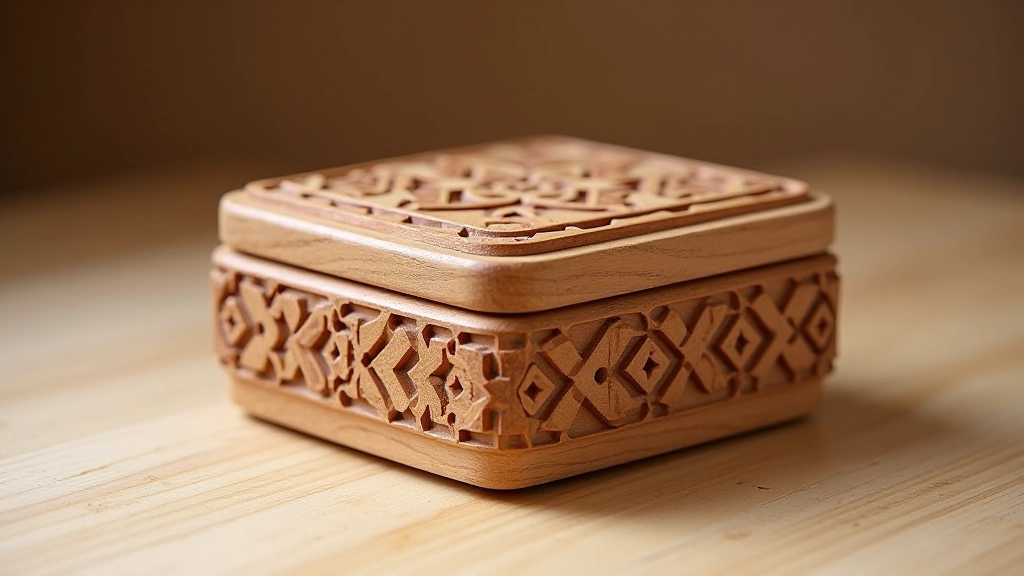
Here's what makes Latvian carving alive rather than frozen in time: carvers adapt. They take the traditional patterns and add personal variation. You'll see this in museum pieces — no two carved boxes are identical even when they follow the same basic pattern template. A carver might extend a line, deepen a relief differently, or combine patterns in a new way.

Start by copying existing patterns exactly. This trains your hand and builds understanding of proportion and spacing. But after 10-15 pieces, you'll naturally start making tiny changes. That's not betraying tradition — that's how tradition works. You're learning the rules well enough to vary them thoughtfully. The carvers who created the patterns we admire today weren't copying ancient masters. They were innovating within a framework they understood deeply.

Traditional Latvian carved wooden box with geometric patterns showing intricate relief carving and authentic detail

Four Core Cutting Techniques

You don't need a hundred techniques — just master these four and you can create nearly any traditional pattern. First: the outline cut. This is your V-tool creating clean edges around your pattern. You're not carving deeply yet, just establishing where the pattern sits. Second: the background removal. Once your outline's set, you lower the background slightly. This makes the pattern pop without necessarily going deep. Third: relief carving within the pattern. You're now adding dimension — curved surfaces, deeper valleys, roundness. Fourth: detailing and finishing. Small lines, fine touches, cleaning up edges.

Each technique uses different tools in different ways. The outline cut uses steady, controlled pressure with the V-tool pushed away from you. Background removal often uses a gouge held at an angle, making multiple passes rather than trying to remove everything at once. Relief carving demands patience — you're removing thin shavings to build form gradually. Detailing's where your best tools come out. You want sharp, fine tools for the final work.

Array of traditional wood carving tools laid out showing different chisels, gouges, and V-tools used in Latvian carving
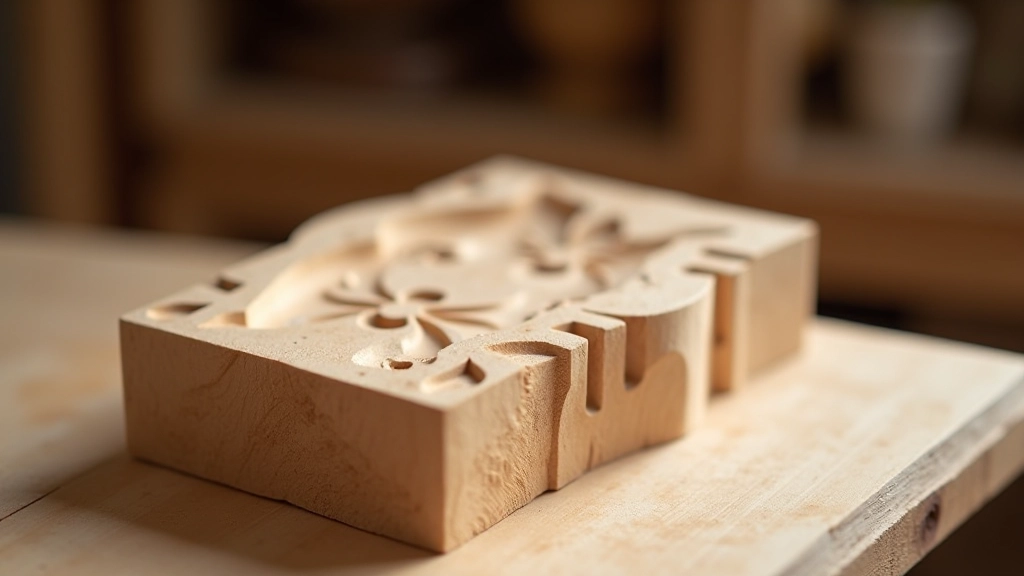
Finished carved wooden piece showing smooth surface after sanding and finishing, displaying grain and carved details

Finishing Your Carved Work

The carving's done. Now comes finishing. Traditional pieces were often left natural — no paint, no heavy stain, just wood. This shows the carver's skill and the wood's beauty. You'll sand progressively from coarser grits (120-150) to finer (220-320). Don't skip this. Good sanding transforms a carved piece from "rough" to "refined." You're not changing the carving itself, just smoothing the surface and opening the wood to absorb finish.

Oil finish is traditional. Linseed oil, tung oil, or modern wood oils all work. They enhance the grain, provide some protection, and feel authentic. Apply thin coats, let them cure between applications. You'll typically need 2-4 coats. Some carvers use beeswax on top for a subtle sheen and extra water resistance. This isn't varnish or polyurethane territory — those can look modern and plastic on traditional work. You want the wood to feel like wood, not sealed in plastic.

Andris Kalniņš, Senior Woodworking Expert

Andris Kalniņš

Senior Woodworking Expert & Content Lead

Master woodcarver with 18 years of experience in Latvian woodworking traditions and sustainable Baltic timber sourcing. Andris combines historical techniques with modern practice, helping hobbyists discover the satisfaction of hand carving.

Start Carving

Traditional Latvian wood carving isn't mysterious. It's learnable. Start with simple patterns, invest in decent tools, source good wood, and practice. Your first pieces won't be gallery-worthy — that's fine. You're building understanding. By piece 20 or 30, you'll see real improvement. By piece 50, you'll have developed instincts that let you work more freely. The tradition continues because people like you decide to pick up a chisel and try.