
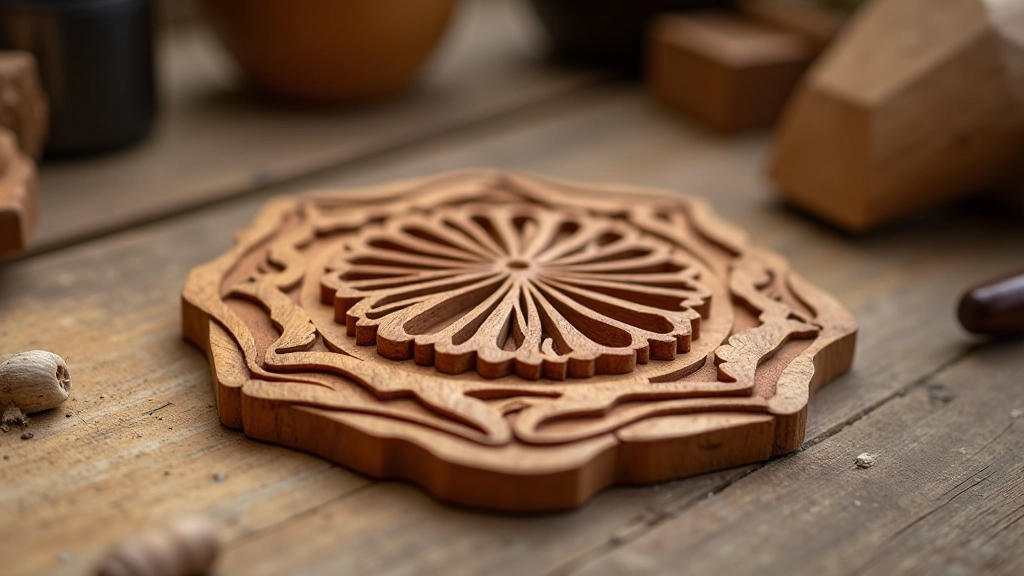
Starting Your First Woodcarving Project
Learn which tools you actually need, how to choose the right wood, and three beginner-friendly carving techniques that produce results quickly.
Why Carving Is Easier Than You Think
You don't need a workshop full of equipment to start woodcarving. Honestly, most beginners get intimidated by the thought of it. But the truth is — you'll be creating recognizable pieces within your first few sessions.
We're talking about relief carving and basic whittling here, not intricate sculpture. These techniques have been used in Latvian woodworking traditions for centuries, and they're surprisingly approachable for someone picking up a carving knife for the first time.
What You'll Get From This Guide
- Essential tools (5-7 pieces to start)
- Wood selection tips for beginners
- Three proven carving techniques
- Safety practices that actually matter
The Tools You Actually Need
Let's be real — you don't need a $300 starter kit. Most carvers get bogged down with tools they'll never use. Instead, focus on quality basics that'll last years.
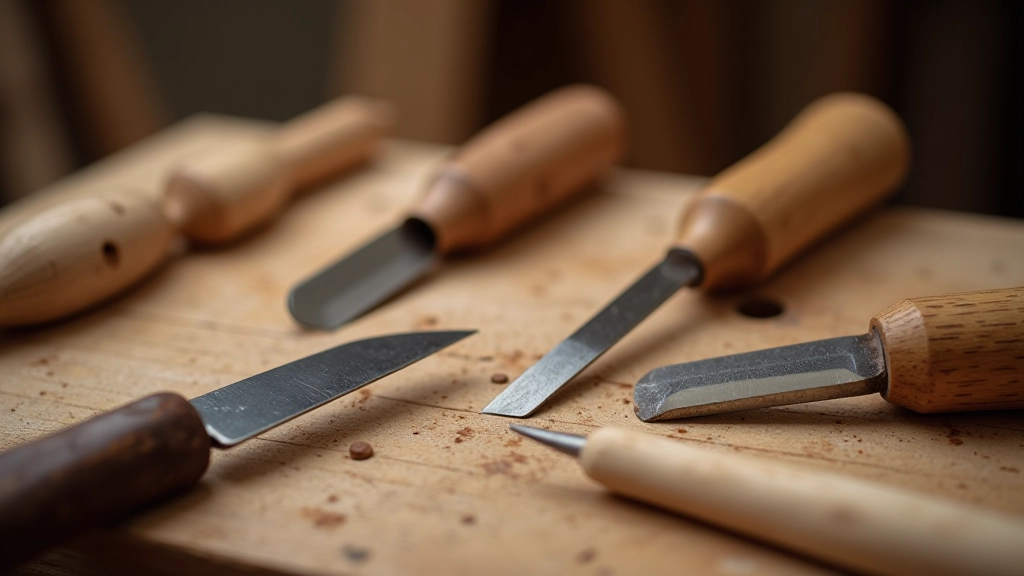
A decent carving knife (straight blade, around 2-3 inches), a chip carving set with three different blade shapes, a sharpening stone, and a cut-resistant glove for your non-carving hand. That's genuinely it. You'll add more specialized tools later if you want to, but these five items cover 95% of beginner projects.
Budget-wise? You're looking at €40-70 for decent starter tools from local Baltic timber suppliers or woodworking shops. Don't cheap out on the knife itself — a $5 tool will frustrate you within an hour.
Choosing Wood That Cooperates
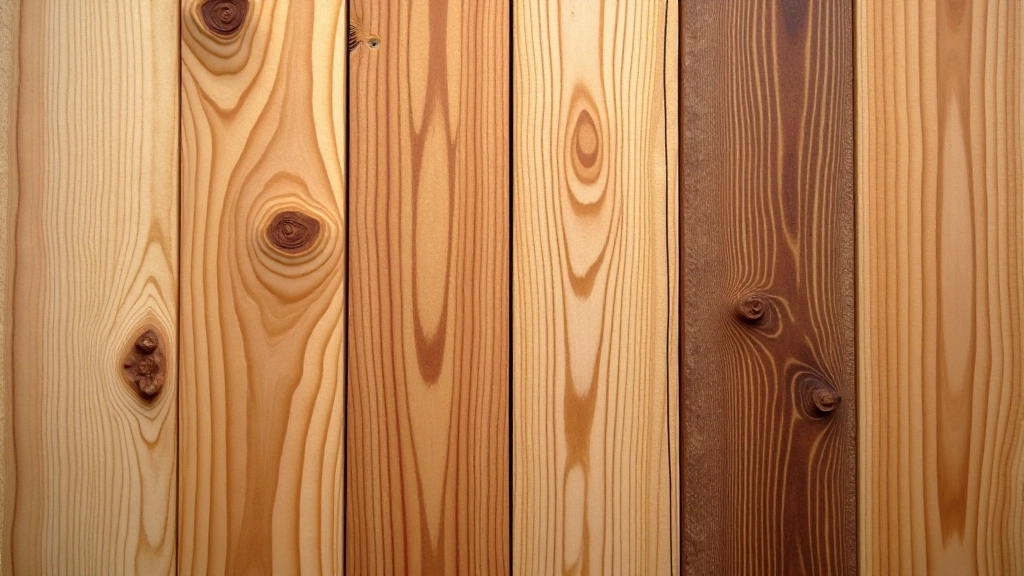
Not all wood carves the same. Hardwoods like oak and maple? Those'll fight you. Softwoods like lime, basswood, and pine — those are your friends when you're starting out. They respond beautifully to the knife and don't require as much force.
Balsa is too soft and crumbles. Plywood isn't great for carving. What you want is something in the middle — wood that's forgiving but still has enough structure to hold fine detail. Linden wood (also called lime) is honestly ideal for beginners. It's what Latvian carvers have favored for generations.
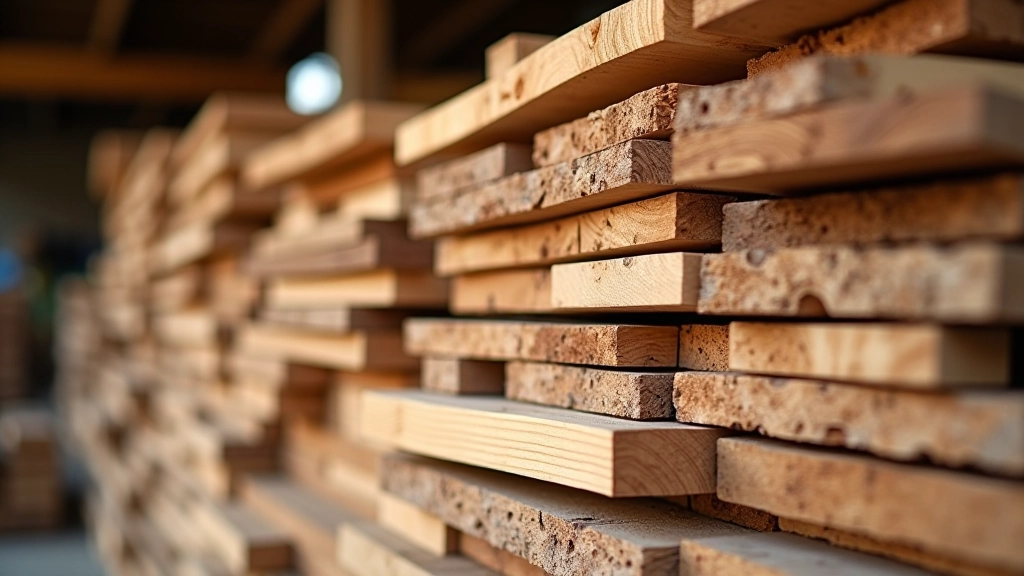
When sourcing from local kokmateriālu suppliers, ask specifically for carving-grade wood. You'll want pieces without knots or cracks. A 2x4 inch block, about 3-4 inches long, is perfect for your first project. It's substantial enough to feel real but not so big that it's overwhelming.
Safety Matters
This guide is informational only and covers general woodcarving practices. Always wear appropriate safety equipment, including cut-resistant gloves and eye protection. Sharp tools require respect and attention. If you have hand injuries or conditions affecting dexterity, consult with a healthcare provider before starting carving work.
Three Techniques That Work for Beginners
These three methods are the foundation of Latvian wood carving traditions. They're simple, they produce visible results, and they build the muscle memory you'll need for more complex work.
1
Stop Cuts
Make a vertical cut into the wood where you want an edge, then carve away from that cut. The stop cut gives you a clear boundary so your knife won't slip. You'll see immediate definition in your design. This is how you create the illusion of depth without actually going very deep.
2
Push Cuts
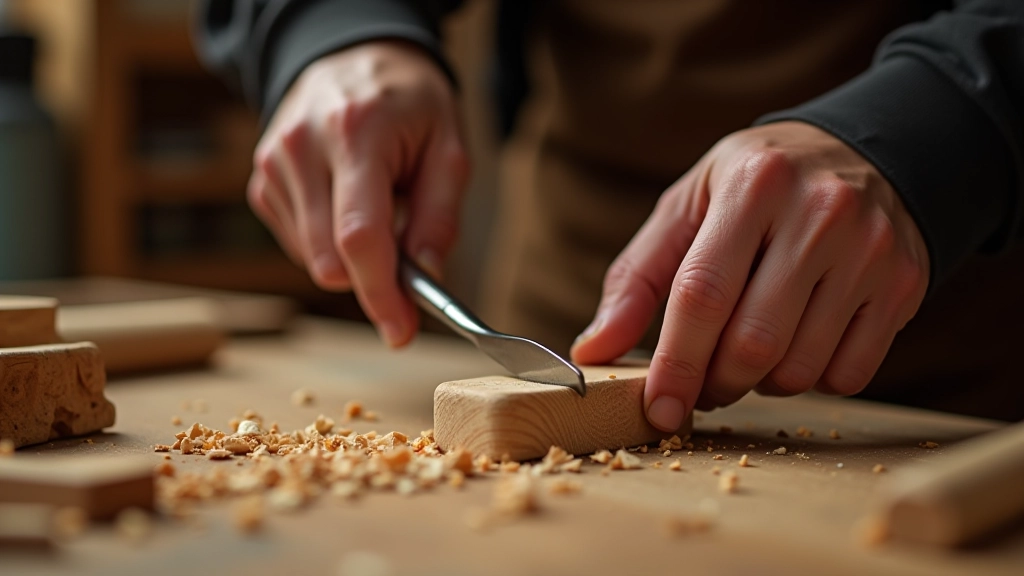
Hold the knife at a shallow angle and push it away from you, removing thin shavings. It's controlled, it's safe when you're doing it right, and it's how you shape rounded surfaces. Most of your time carving will be push cuts. Your hands control the tool better this way than with pulling motions.
3
V-Cuts
Use the corner of your blade to cut thin V-shaped grooves. These create texture and fine details. You'll use them for outlines, pattern work, and adding visual interest. They're the most forgiving technique because you don't need to remove much material — just guide the blade in a steady line.
Continue Your Learning


Your First Project Awaits
Woodcarving isn't intimidating once you understand the basics. You've got the tools to choose, the wood to select, and the techniques to practice. Start small — a simple geometric pattern or a small animal shape. Something that teaches you how the knife responds to the grain without overwhelming you.
The first time you complete a project and hold it in your hands, you'll understand why this craft has endured for centuries in Latvia. It's meditative, it's rewarding, and it's genuinely achievable for anyone willing to spend a few hours with a knife and a block of wood.
Questions about getting started? Reach out to local woodworking groups or timber suppliers — the community here is supportive and eager to help beginners find their way.